If you are a Fern Ridge Staff member and you want to a print to a network printer that isn’t automatically showing up in your printer list, here’s how you can add one.
Step 1.
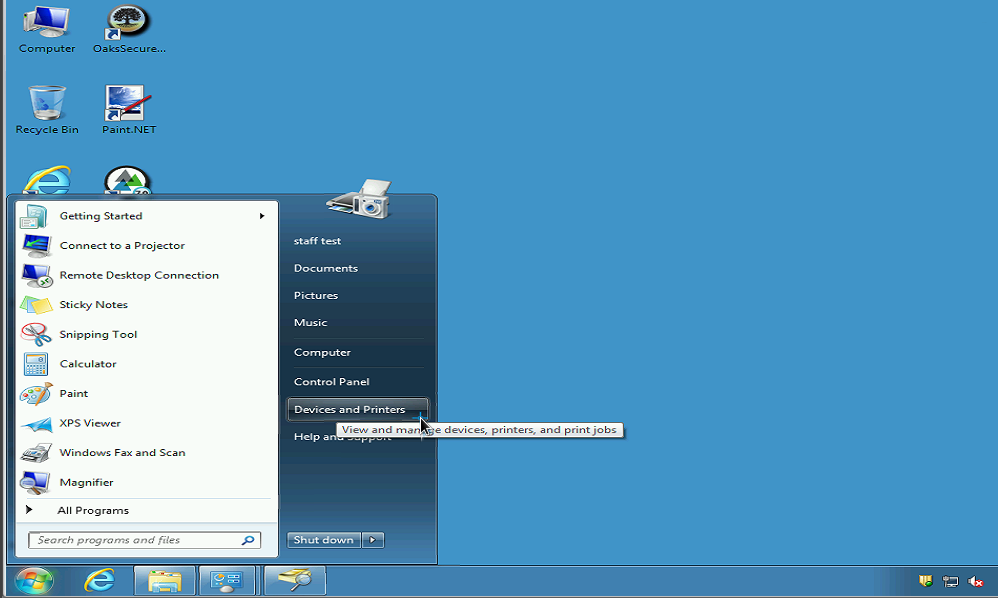
Click the Start menu and select [Devices and Printers]
Step 2.
The “Devices and Printers” window will appear. Click the “Add a printer” button.

Step 3.
You’ll be asked which type of printer you want to install. Select “Add a network, wireless or Bluetooth printer”, then click the “Next” button.

Step 4.
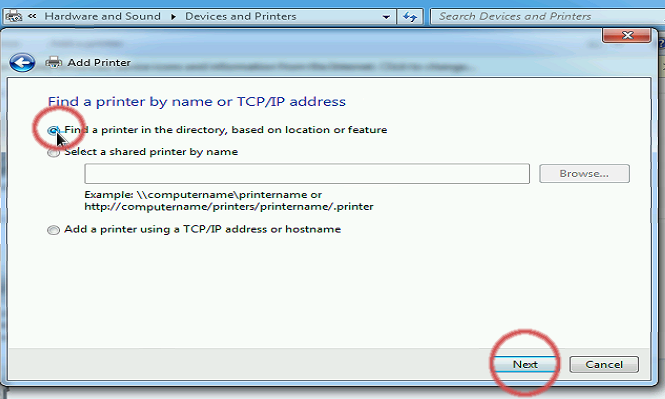
You’ll be asked how you want to find a printer. Select “Find a printer in the directory, based on location or feature”.
Then click the “Next” button.
Step 5.
The “Find Printers” dialog will appear. You can find your printer in the list, you can sort the list by name, location or printer model.
Leaving all the fields empty and clicking “Find Now” will find all the printers.
When you find the printer you want, simply double click it in the list and the installation will begin. If you see a confirmation dialog asking whether it’s ok to install a driver for a printer in this list, it is ok to confirm it.

Step 6.
You should see a success dialog, and you have the option of setting the newly added printer as your default printer.
If you choose that option, this printer will be the automatically selected printer when you choose to print a document.
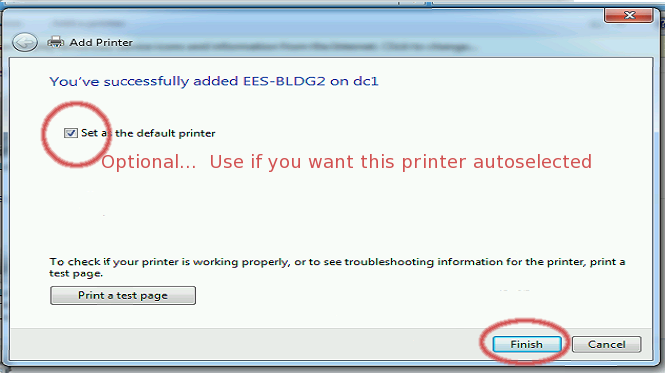
Click “Finish” to complete.
Congratulations, you have a new printing option.
As always, please contact helpdesk@fernridge.k12.or.us if you have difficulties after trying this procedure.
Leave a Reply